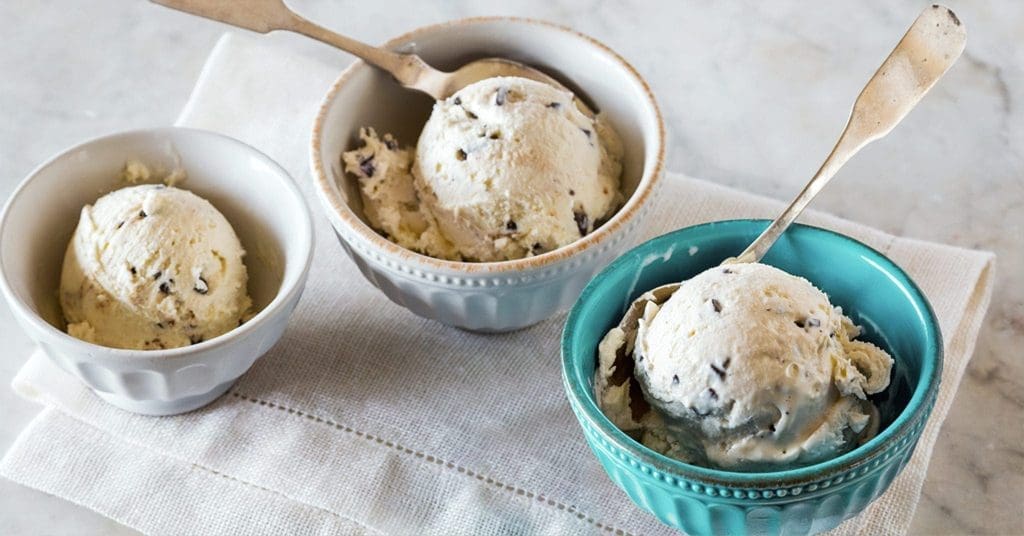
A few years ago for my birthday, I was given an ice cream maker. My hobby that entire summer, as you can imagine, was experimenting with different recipes and concoctions—landing on the perfect spicy Mexican chocolate ice cream and homemade mint chocolate chip. It was intimidating at first, considering I needed to learn techniques like tempering and how to maneuver this new type of machinery. At the same time, I could recall a method for no churn ice cream from when I was a kid that only called for a plastic bag and a whole lot of ice and salt.
You see, to make really good ice cream, you don’t actually need a machine. It’s honestly more of a want. If you’re a beginner or don’t have the budget, desire or kitchen space to own an ice cream maker in your lifetime, no churn ice cream is seriously the next best thing. There are a couple different methods to try out which vary according to time, effort and your own flexibility. However, more importantly, they’re all equally as delicious. Go crazy with the flavor of the base. Add as many mix-ins as you’d like. We’re giving you four no churn ice cream hacks (with recipes) to try at home this summer.
In a mason jar…
We all have mason jars lying around at home—whether you’re into canning or like to use them as drinking glasses. For this method, you’ll add all your ingredients to the jar and shake it as hard as you can until the mixture inside is thick and has doubled in size. This is the perfect way to get the kids involved, taking turns passing the jar around and shaking it constantly for about four to five minutes total. After, just stick it in the freezer for at least three hours and voilà, you have ice cream.

In a plastic bag…
As I previously said, this is the way I remember making ice cream as a kid. First, you’ll need two Ziploc bags—one sandwich-size, the other gallon-size. In the smaller one, add your ice cream base which can include the usual ingredients such as heavy cream, milk, corn syrup, vanilla and sugar. In the bigger bag, fill it with ice and Kosher salt and then nestle the smaller bag in the ice and seal it shut. Similar to the no churn ice cream mason jar technique, you’ll want to vigorously shake the bags for at least five minutes and up to 20. Again, it’s a good idea to let the kids get involved and put their mini muscles to work.
In a bowl…
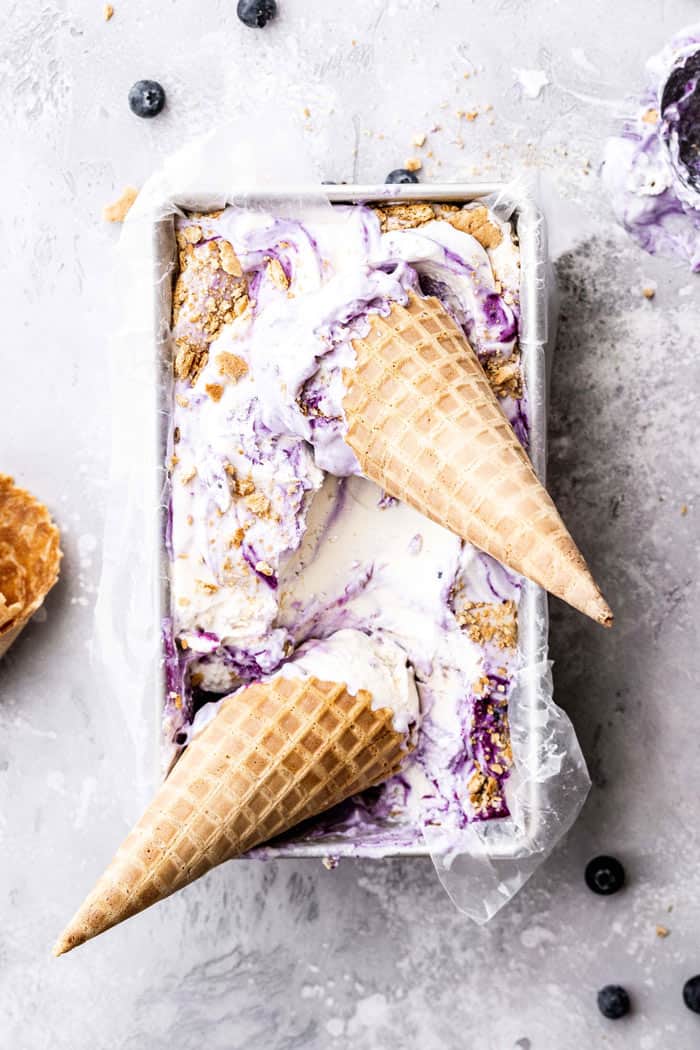
This method is a lot easier on your arms (no shaking required), but does call for some machinery. If you have a stand or hand-mixer, now’s the time to get it out. If not, a whisk will do. For this No Churn Blueberry Cheesecake Ice Cream, you’ll start by whipping heavy cream to stiff peaks and putting that mixture to the side. Next, you’ll add your other base ingredients to a bowl (sweetened condensed milk, cream cheese) and combine them until they’re smooth. Gently fold the whipping cream into your mixture and freeze for at least five hours, up to overnight. It’ll be the creamiest ice cream consistency you’ve ever had.

In a blender..
This no churn ice cream is a bit of a cheat because it uses essentially one ingredient, frozen bananas. You won’t even taste them, I promise. By freezing and then blending cut up pieces of banana, you end up with a texture that mimics ice cream so closely you could fool any non-believer. You could also sub in a food processor for this method if you’re worried about your blender holding up. Try this Peanut Butter Banana Ice Cream that incorporates cinnamon, peanut butter and vanilla.

Main image by American Heritage Chocolate
Abby is The Digest's Managing Editor. She spends her time looking at dogs on Instagram and eating her way around Jersey City.
- Abby Montanezhttps://thedigestonline.com/author/abby/
- Abby Montanezhttps://thedigestonline.com/author/abby/
- Abby Montanezhttps://thedigestonline.com/author/abby/
- Abby Montanezhttps://thedigestonline.com/author/abby/


