
A Simple DIY Headboard To Add Outdoor Style To Your Home
After moving from the sticks of Sussex County to the hustle and bustle of Morris County, my boyfriend and I were looking for ways to bring our love of nature into our new home. This DIY headboard wood pallet project literally brings the outdoors in and adds a touch of rustic elegance that is sure to be a conversation starter for any guest. The amount/size of materials is based on an 8-foot tall, 4-foot wide pallet headboard as seen in the photo.
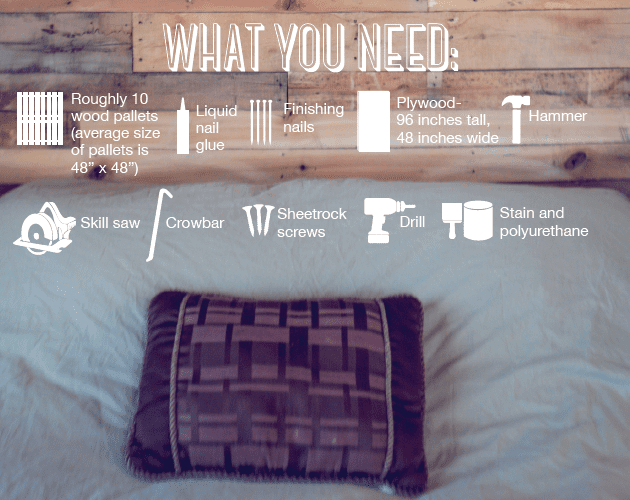 WHAT YOU NEED:
- Roughly 10 Wood Pallets (average size of pallets is 48” x 48”)
- Liquid Nail Glue
- Finishing Nails
- Plywood – 96 inches tall, 48 inches wide
- Hammer
- Skill Saw
- Crowbar
- Sheetrock Screws
- Drill
- Stain and Polyurethane
STEPS to building a DIY headboard
1.Collect Pallets 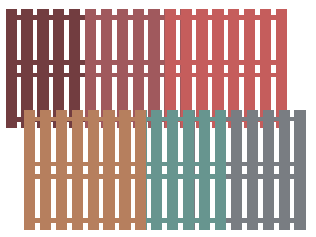 Ask local small businesses if they’d be willing to either give them to you for free or sell them for a minimal cost. You’ll have the best luck at hardware stores, motorcycle shops, home and garden suppliers, and power equipment stores. You can also look online at sites like Craigslist or Ebay if you don’t have luck around town.
2. Disassemble Pallets 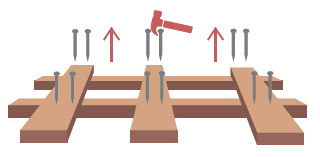 Disassembling the pallets will be the most tedious part of the project. Remove the nails with a hammer, pry bar, or your brute strength, but be careful not to damage or crack the wood or else all your effort will be in vain.
3. Organize  As you’re breaking apart the pallets, group the slats of wood by width. Different parts of the pallet will have different widths of wood and it is important to pair similar pieces together before beginning your DIY headboard. Depending on the size of your bed, determine how wide you want the headboard to be. If you have a full size bed like myself, go 48 inches wide, making the headboard 6 inches wider than the bed, which will look more aesthetically pleasing than trying to match the width perfectly with that of your bed.
4. Take Measurements and Cut  Cut your piece of plywood to the correct dimensions based on your bed size and mount it to the wall with sheetrock screws. The plywood will act as a buffer so you don’t fill up your wall with holes from nailing in each individual slab of wood.
5. Apply Wood to Base 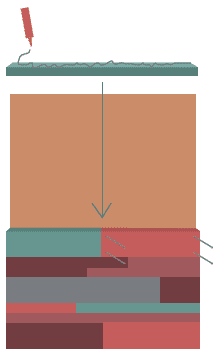 Choose two pieces from the same width group and cut them with the saw so they fit perfectly with the width of your plywood when placed side by side. Starting at the bottom left corner of your plywood, put a layer of glue on one side of your wood piece and stick it to the the plywood. Apply even pressure to the board for about 30 seconds to ensure it sticks, and for added reinforcement hammer four finishing nails into each corner of the wood. Continue this process by choosing varying widths and colors as you work your way up the wall so that your finished DIY headboard won’t look too static. Also be sure to change up the lengths of the wood you pair together to make it look more staggered.
6. Finishing Touches 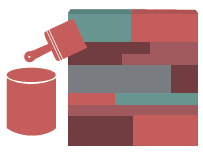 Once completed, open your room’s windows and two coats of stain to the headboard. After it dries, add a layer of polyurethane to seal the entire thing.
The Finished DIY Headboard 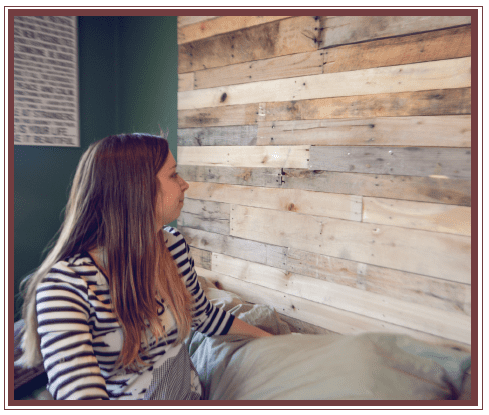 Read this story in the May | June 2014 Issue of The Digest. Turn to page 56!
Lauren is a writer and blogger for The Digest. A lifelong Sussex County resident, Lauren has adventured out of the sticks of northwest New Jersey to join The Digest team. When she is not commuting in rush hour traffic, she is typically frolicking outdoors or cheering on the Yankees.
