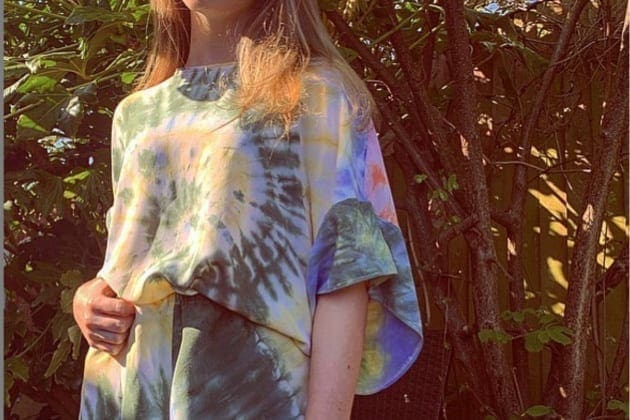

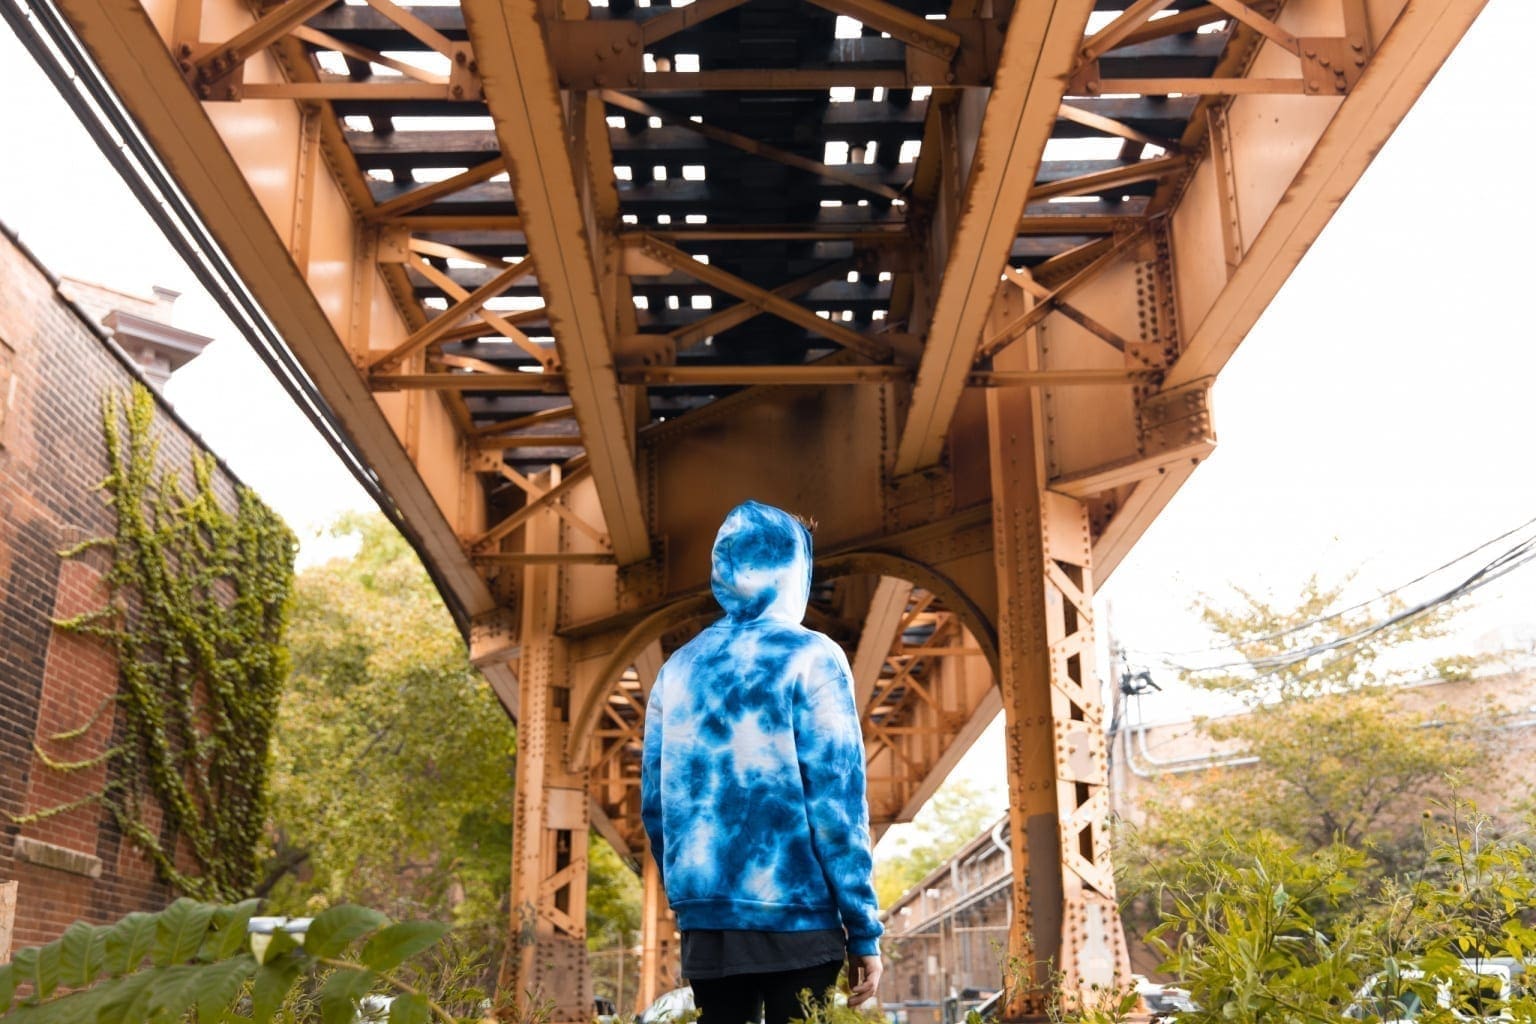
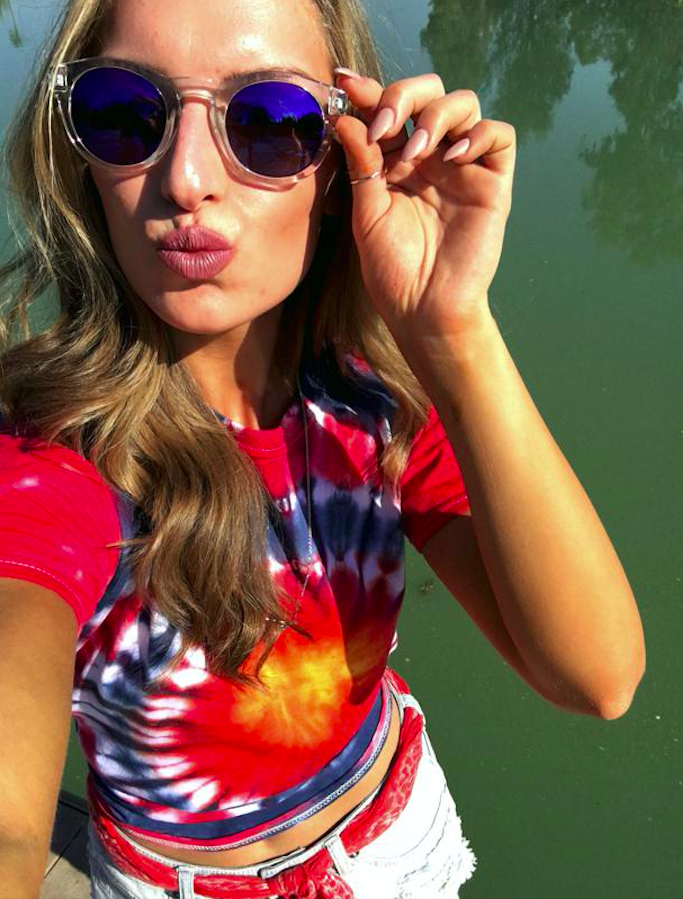
Next to whipped coffee, homegrown vegetables and sourdough starter, tie dye has been one of the biggest “trends” to come out of quarantine. It’s cheap, easy, fun to do and influencers around the world have provided us with major #inspo. Known for being a favorite childhood activity or part of the psychedelic 1960s culture, it remains as one of America’s most nostalgic pastimes. If you’re looking to hop on the bandwagon and give your threads a trippy new look, here are five tie dye techniques to try at home.
What Can I Dye?
The limits truly don’t exist when it comes to tie dye. The most popular items include t-shirts, sweatpants and sweatshirts but you can apply tie dye techniques to other essentials including sneakers, scrunchies, biker shorts, socks, bandanas (or even face masks, in this case). Here, we’re covering the basics for any white cotton clothing you may have.

What You’ll Need
– White cotton clothing
– Dye
– Rubber bands
– Rubber gloves
– Squeeze bottles
– Bucket or bin
– Plastic/resealable bag
– Water
– Optional: salt and dish soap (for Shibori style)
The Process
1. Set up a workstation. To avoid stains, put down tarp, old newspapers or work over any surface you don’t mind potentially ruining.
2. Put on your gloves and prepare the dye according to package instructions. Pour the mixture into squeeze bottles. (You can use a paper towel as a test strip to determine how dark or light you want the dye to be.)
3. Dampen your garment with water. Once you’ve decided on a pattern, fasten the rubber bands using the suggested technique. The tighter the bands, the more white space your final product will have.
4. Squirt the dye onto the clothing, soaking but not saturating. Flip the piece of clothing over and do the same to the other side.

5. Place the finished (now wet) item in a plastic bag and let it sit six to eight hours or overnight. Take the garment out of the bag, remove the rubber bands and either rinse it under cold water to prevent the dye from bleeding or put it in the washing machine by itself on the coldest setting. Allow it to air dry.
5 Tie Dye Techniques and Patterns to Try at Home (videos linked)
1. Bullseye
“Pinch fabric at the center of where your bullseye will be. Pull upward into a cone shape, guiding the fabric with other hand. Wrap a rubber band 1 to 2 inches below tip of fabric, then continue binding fabric with desired amount of rubber bands. Apply desired dye colors to sections of fabric.” – tiedyeyoursummer.com
2. Crinkle
“Using your fingertips, scrunch T-shirt together. Optional: apply rubber bands around mound of fabric. Wearing gloves from dye kit, mix dye as instructed on package. Randomly squeeze dye onto T-shirt. Apply desired amount of dye. Carefully flip crumpled fabric over and add dye to backside.” – joann.com

3. Ombre
“Squeezing dye from bottle apply dye along bottom edge of t-shirt. Use a large wet paintbrush to brush dye upward on fabric. Dip paintbrush in water and brush along edge of dye, pulling color upward to create a gradation of the original color.” – joann.com

4. Stripe
“Starting at one side, gather the T-shirt to create accordion-like folds that run vertically from neck to hem. Wrap a rubber band tightly around the shirt. For more stripes in the tie-dye pattern, add rubber bands.” – parents.com

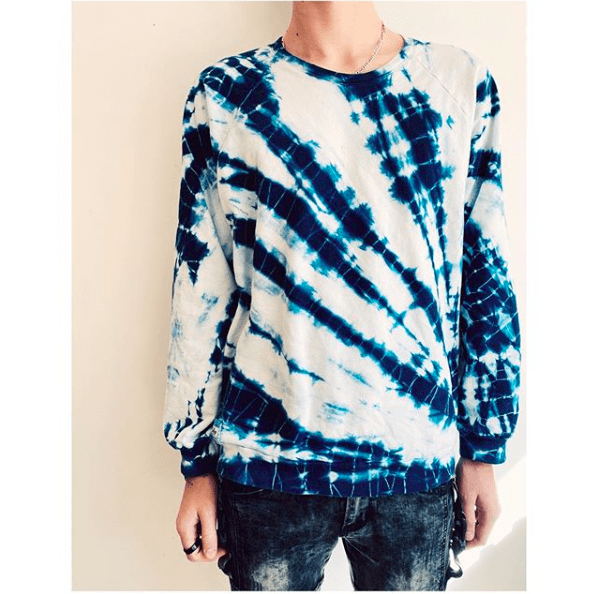
5. Shibori (Kanoko Style)
“Hold your shirt lengthwise and then twist it tightly, almost as if you are wringing out a towel. Coil your shirt into a spiral and flatten down with your hand. Use several rubber bands to bind your coiled shirt in place. Dye your entire bound shirt with navy Tulip One-Step Tie Dye. After adding dye to one side, carefully flip it over and repeat on the backside. Wrap in plastic or secure in a zipper plastic bag, then let set for 6-8 hours. Wash and dry according to the dye instructions.” – tiedyeyoursummer.com
And If You Can’t Find Dye, Use Bleach
Just in case you stumble upon the rumored dye shortage on sites such as Amazon, here’s an equally as cool alternative. Known as the “reverse tie dye,” this method can be done with materials you already have at home. Instead of traditionally adding color, the bleach will actually strip the color away from the fabric resulting in a darker, grungier kind of finish.
All you need for this is black (or dark colored) cotton clothing, bleach, water, squeeze bottles, a bucket, gloves and rubber bands.
Main image by ritdye.com
Abby is The Digest's Managing Editor. She spends her time looking at dogs on Instagram and eating her way around Jersey City.
